
Yo-Yo


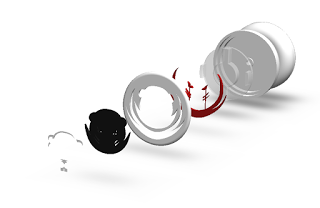
In my junior fall at MIT I took the class 2.008 Design and Manufacturing II. This class is the second in a series of classes on the design process and how things are made. We discussed processes such as machining, injection molding, thermorforming, and 3D printing. In teams we were tasked with designing and mass-producing at least 50 yo-yos and, in our team of six, we decided to base our yo-yo on the MIT athletics logo. We divided the yo-yo into several parts: the base, the lid, the face, the red flames/whiskers/eyes, and the electronics (so that it lit up when in use). I mainly worked on the base and the lid, which required a lot of detail with measurements so that the face fit into the lid and the lid snapped into the base without falling out. For more details on the whole team's work on the yo-yo, you can visit our team blog or watch the video at the bottom of this page.
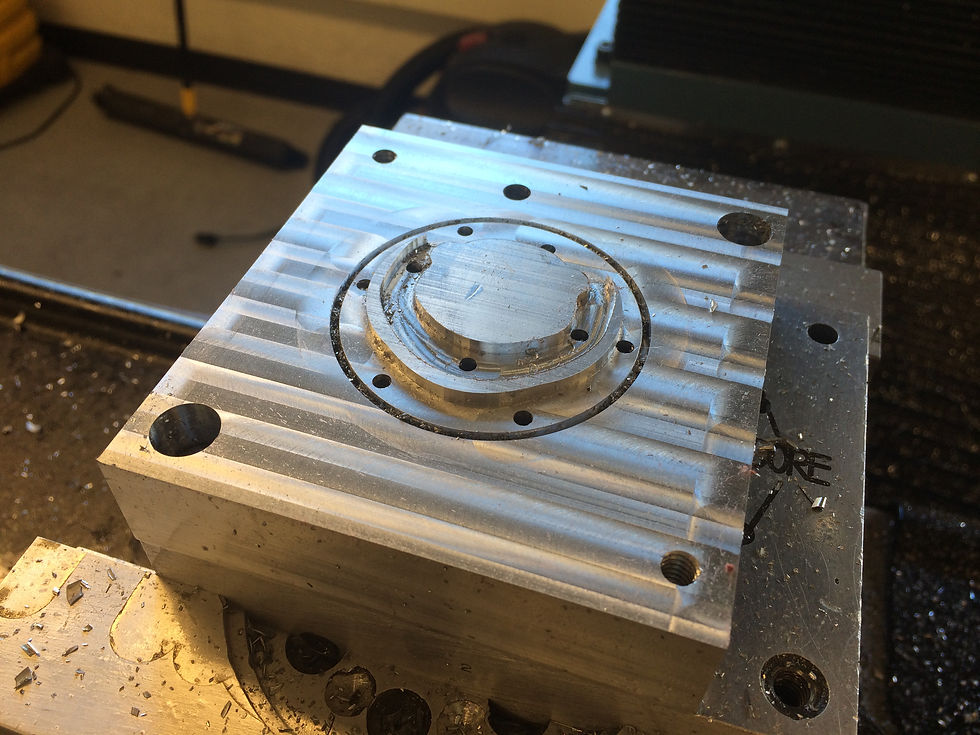

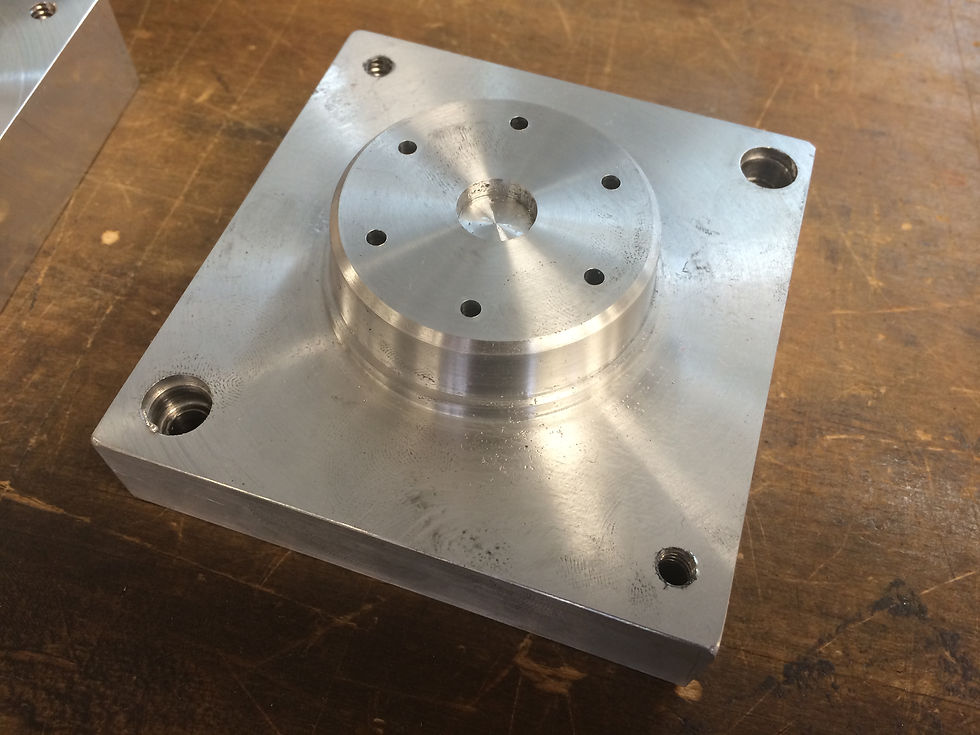
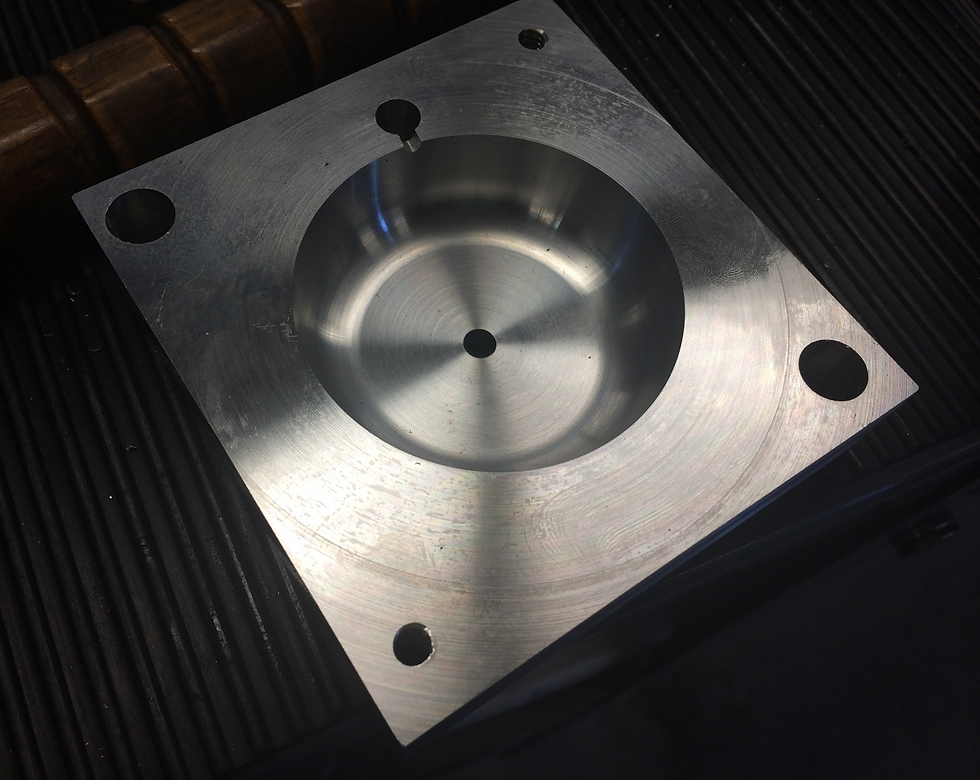
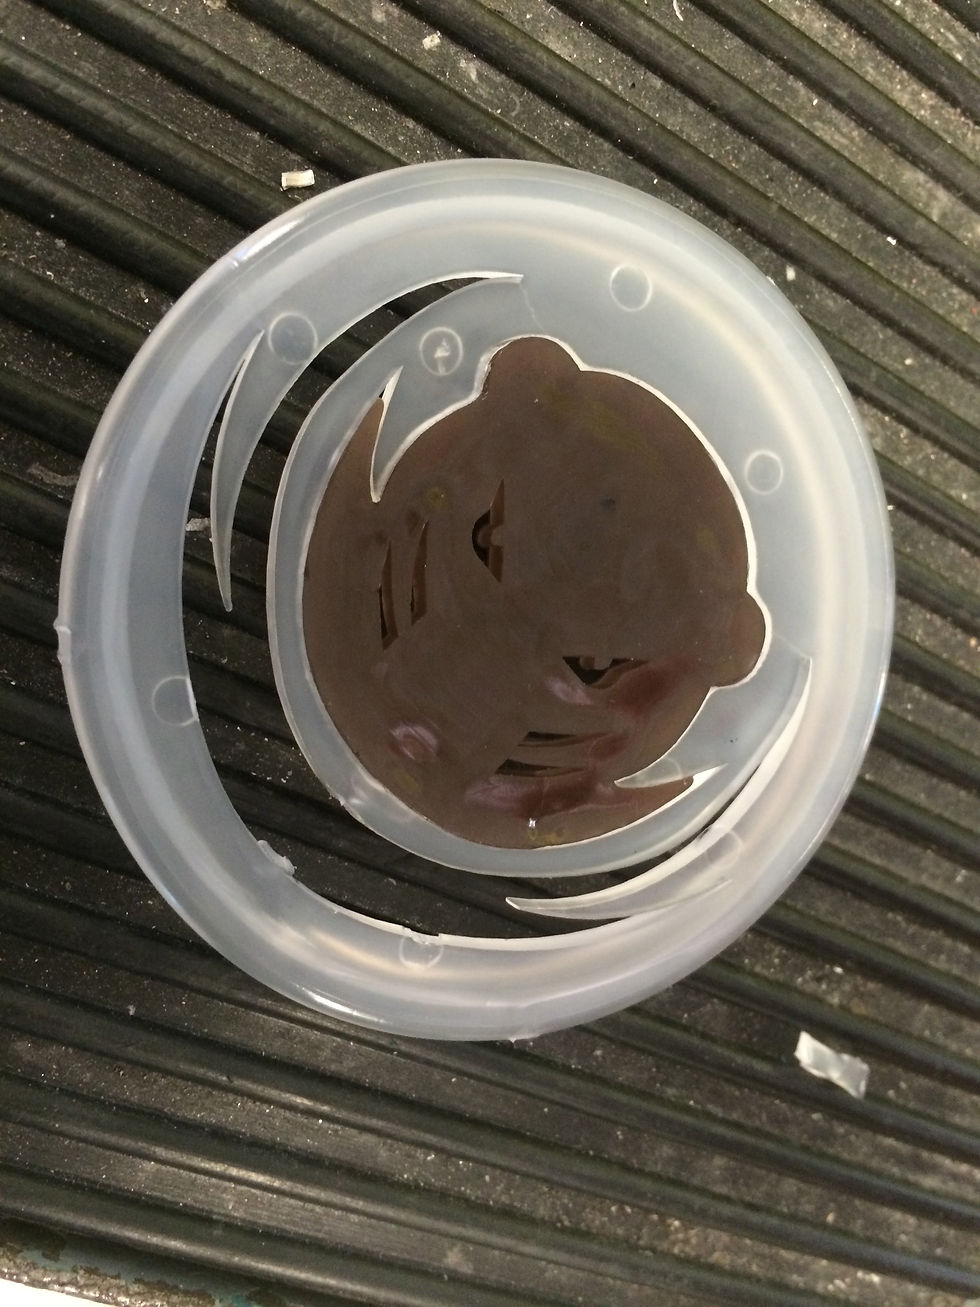
Above are the core and cavity molds for the lid and base. For the lid, we wanted very sharp corners for the red flares under the beaver. As we did not have a tool small enough to create a pocket, we opted to create islands that fit together. The lid molds pictured above created a slightly warped lid, so, as pictured below, we added a ring of runners around the core mold so that the plastic would flow in evenly from all sides. For the base we created a simple shape that was deep enough for the thermoformed electronics bed. When we found that the lid and base pieces were too difficult to snap together, we remade the base molds to be larger, allowing for a better fit. The old mold we labelled "Do not use" to prevent accidents.
To create the molds, we used CNC mills and lathes. We designed the parts in Solidworks, and from there designed the molds, figuring out where the parting lines would go. We also used the Plastics feature of Solidworks to test the placement of the gates. From the Solidworks mold parts, we created Solidworks drawings. The drawings were then placed into Mastercam to create a tooling process and G-code to send to the machines.


When using the injection molding machine, we had to do a few practice runs to figure out the right parameters in terms of packing pressure and cooling time. As show below, we had several cases of flash and short shots before we figured out the right combination. With practice parts that were deemed ok, we tested the snapfits between the face and lid as well as the lid and base. Once the snapfits were all correct and parameters were all defined, we began production. At least 100 pieces were created for each part.


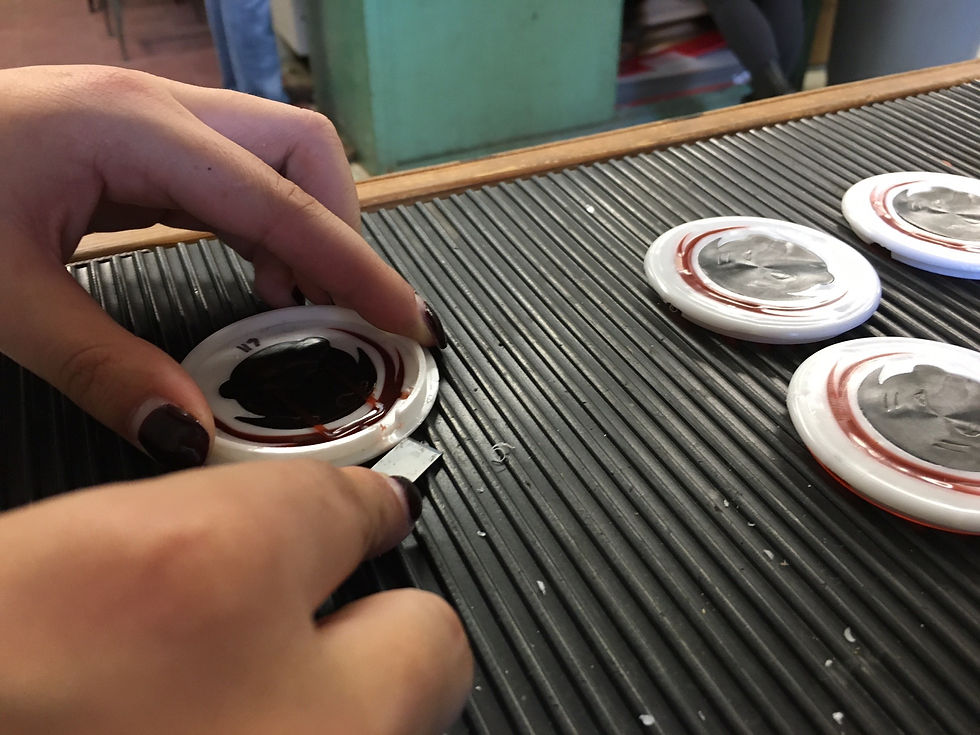
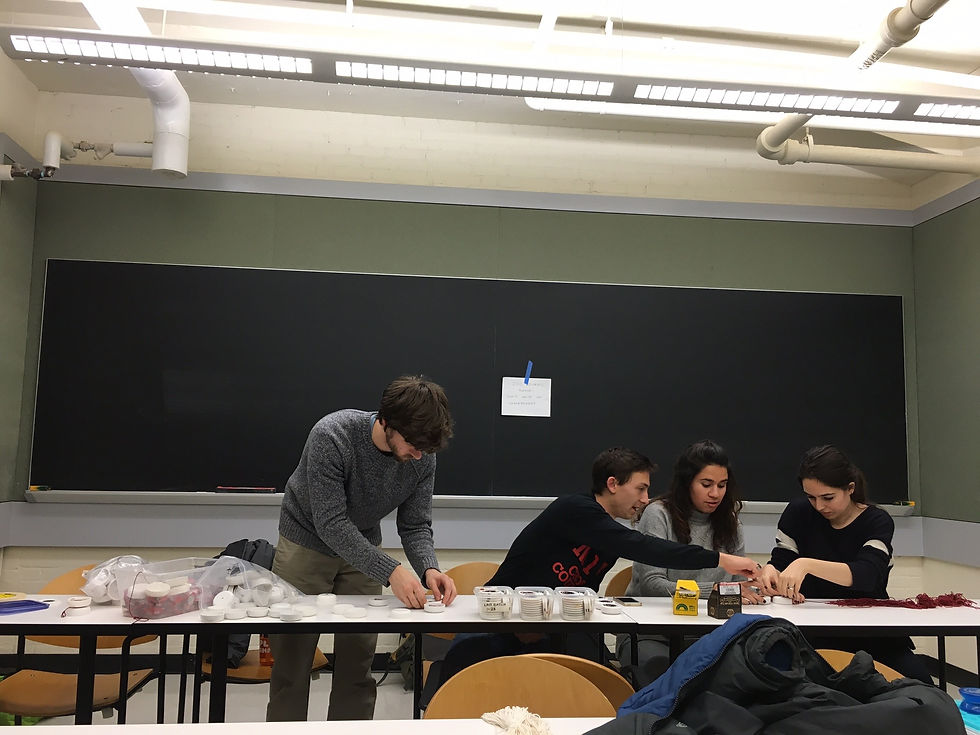
With all the parts made, we began to put the faces into the lids with an Arbor press for the tight fit. To create the red flares, whiskers, and eyes, we used a technique called overmolding, in which we placed the combined lids and faces into a mold and injected red plastic over the desired parts. We had to create an opening in the snapfit for the plastic to flow in, and then placed each lid into the mold. Once all the parts were done, it was time for assembly. We added stickers for the nose and teeth, and, in an assembly line, added the light-up electronics into the bases, snapped the lids, added the string, and put it all together. With that, we created just over 50 yo-yos.


Below is a video documenting our work over the semester.