Roger

In my junior fall at MIT I took the class 2.009 Product Engineering Processes. In this class, teams of about 18 people work during a semester to design and build a product of their invention, presenting an alpha prototype at the end of the semester. My team, Team Orange, created Roger, a communication-enabled respirator that attaches to phones and radios, allowing users to speak clearly without having to remove their mask in hazardous environments. After weighing the costs and benefits, the team decided to build the entire mask on our own rather than build an attachment for existing respirators. This mask was designed to work with existing filters and incorporate electronics without being too distracting. Having such large team, we decided to divide tasks based on people's strengths and areas of interest. My main tasks were CAD (the filters), user experience (how users would interact with the on/off switch, volume control, etc) and graphic design (the logo, posters, and presentation slides).
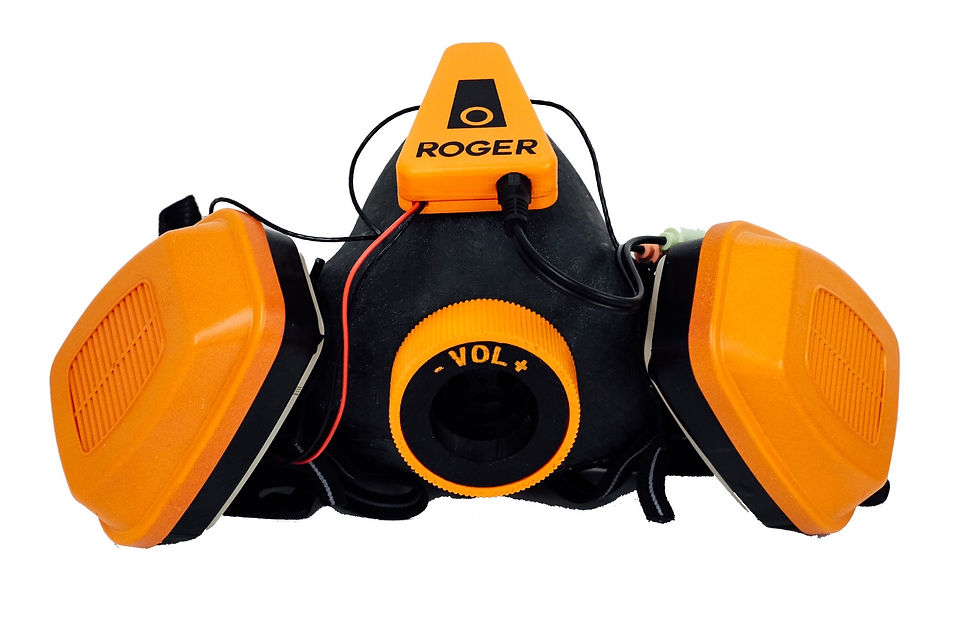
To best figure out how to integrate the electronics smoothly, we played with existing respirators and where objects could be placed. We found the best placement of the printed circuit board (PCB), and its housing, were best placed on top of the nose, where it would remain out of sight and be the center of the electronics, where cables would lead to. The microphone sounded best when in the front and inside of the mask, so it is found underneath the PCB. For the volume control, we decided to create a dial around the exhaust of the mask. The dial clicks left and right, snapping back to center position, and allows the user to raise and lower the volume. For the power supply and on/off switch, we found that the side of the head was an intuitive place to reach, and the weight of the batteries was insignificant. The power supply is accessible so the batteries can be replaced, and the cables, as well as the headphones, are sewn into the head strap's elastic.
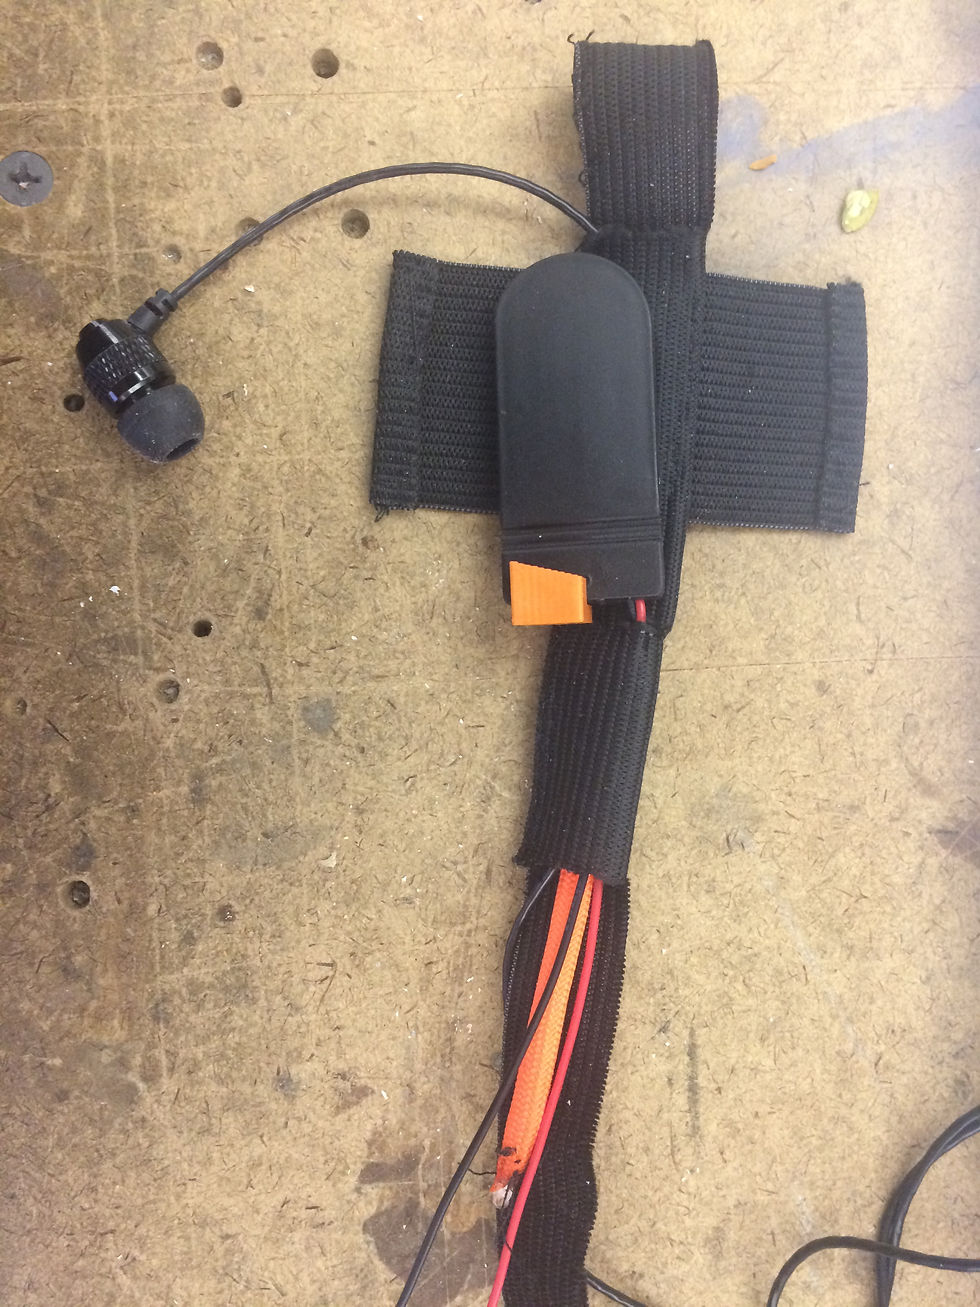
A 1.5" wide elastic strap was folded over and sewn to enclose cables. Another strap of elastic was hand-sewn, with Velcro hand-sewn to it, to wrap around the battery housing and keep it secured to the head straps. Pieces of parachute cord, with edges burnt, were hand-sewn into the sides of the straps to keep parts of the strap from stretching too much, allowing for some strain relief for the cables. The back ends of the head straps were hand-sewn to a plastic harness while the other ends were inserted to attachments for the bayonet mounts for the filters. The straps went in and out of the attachment, and can be pulled for the user to adjust its size. The ends are then folded over and sewn to create clean ends. The on/off switch for the battery housing was small, so we created a snap-on part that created a larger on/off switch. As the user cannot see the switch when wearing it, it was important to make the switch easy to find. This part was 3D printed and painted orange.
For the logo, I thought the trapezoid was fitting as it was the shape of the PCB and its housing. The circles represent the custom volume dial we created as well as the microphone inside the mask. The logo has two of these trapezoids with circles to reference the communication aspect of the device.