Scissor Lift
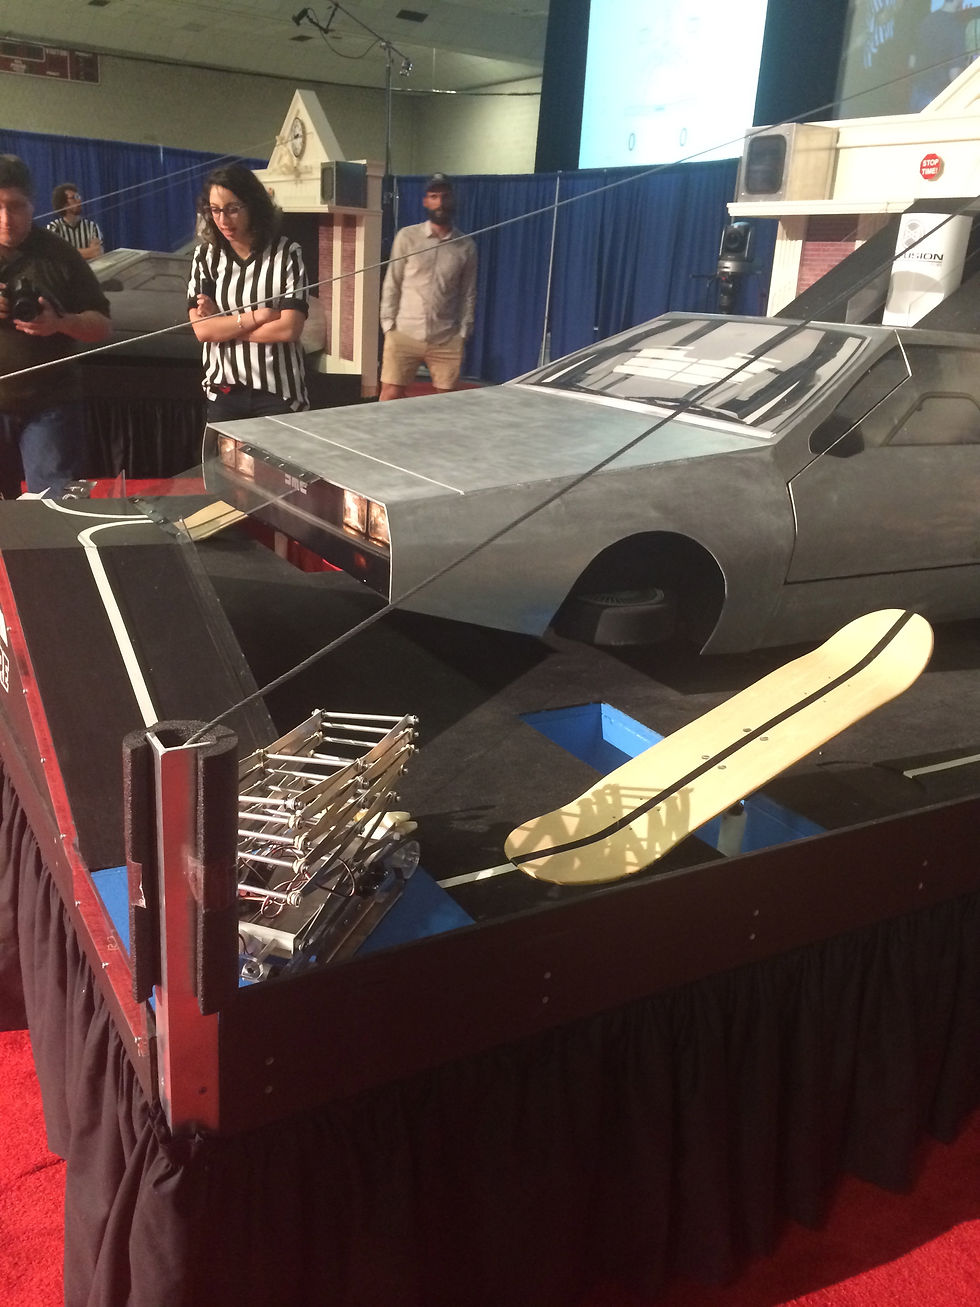
In my sophomore spring at MIT I took the class 2.007 Design and Manufacturing I. This class is an introduction to the design and build process, working with machines in the lab to individually create robots. These robots are designed to score as many points as possible within two minutes in a competition at the end of the semester. The theme for this year's competition is Back to the Future, and points can be scored multiple ways. Points can be earned by dropping (3D printed) bananas or acrylic "plutonium" rods into the "garbage trench" on the groundfloor of the stage, the Mr. Fusion Energy Reactor on top of the DeLorean, or the Flux Capacitor on top of the "clock tower". Plutonium rods are worth more than bananas and the Flux Capacitor is worth more than the Mr. Fusion, which is worth more than the garbage trench. Opening the door of the Delorean can also multiply the amount of points you've earned, based on how much the door is opened.
Students in the class are creating different solutions for this problem, from climbing up and down the cables to creating four bar linkages. My solution is to create a scissor lift. First I would cross the garbage trench on the ground floor towards the back of the stage, to the Flux Capacitor at the top of the clock tower. Then I would rise up towards the Capacitor and having a tilting shelf mechanism that would dump the objects into the Capacitor. I can also multiply the number of points by hooking onto the door handle of the DeLorean and rising up.
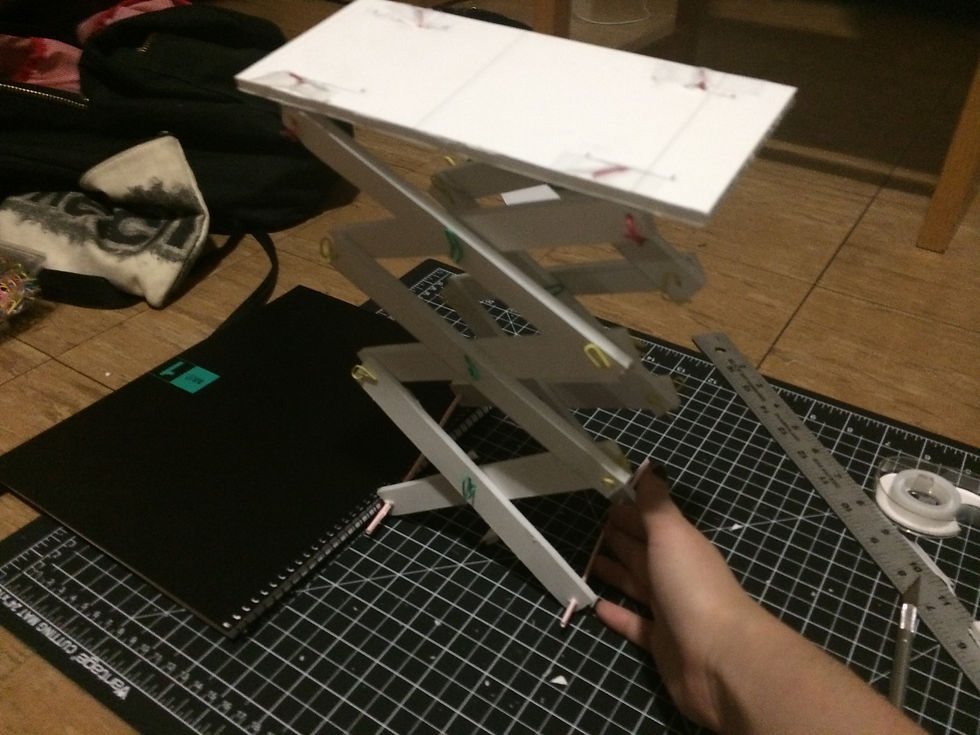
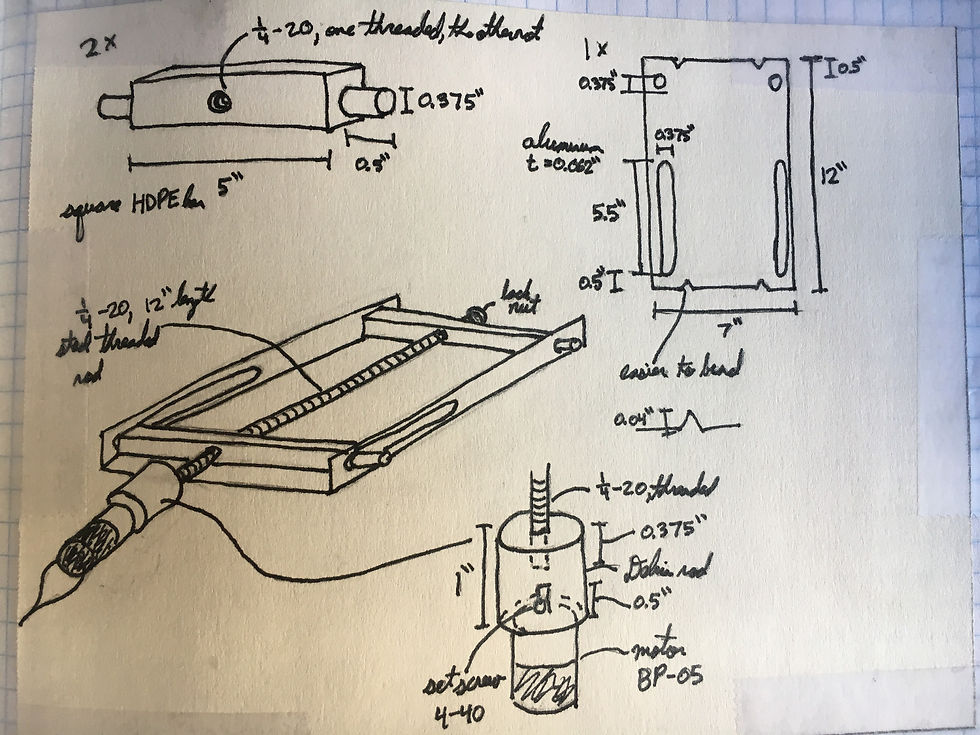
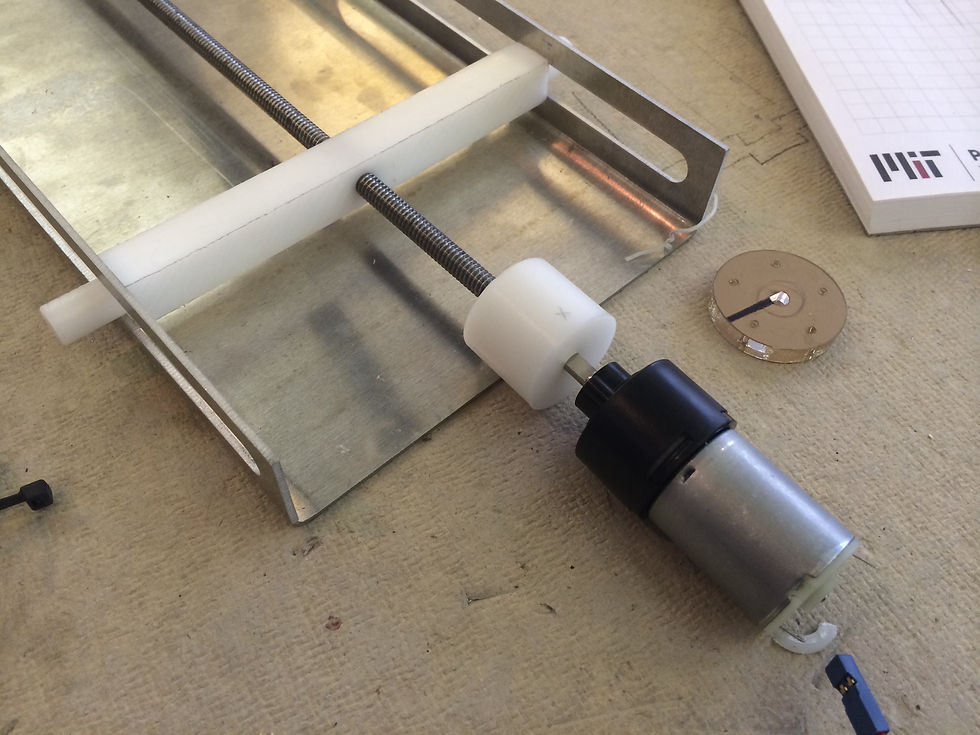
I began by prototyping a scissor lift with foamcore, paper clips, straws, and tape. By pushing the straws that connect the scissor lift at the bottom towards each other, I could make the lift rise. So I created a base for the robot that had one fixed bar and another that could slide along a slot. These bars have holes in them to allow for a threaded rod. When the rod is turned, the moveable bar slides up and down the slot. I attached a BO-P5 motor to the threaded rod using a slice of a Delrin rod, and can control the motor with the controllers pictured below.


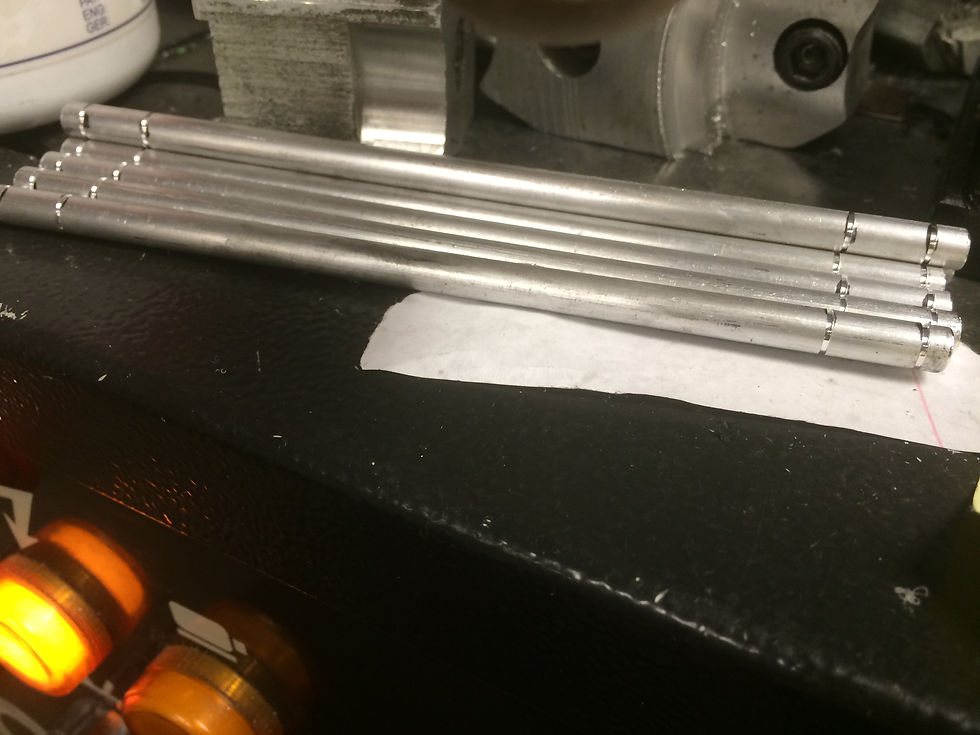

Next I attached the water-jetted scissors with 1/4'' rods, with grooves created from a lathe for attaching e-clips to hold the lift together. At the halfway point of the semester, the scissor lift could lift the car door 26.1 degrees, without wheels attached. I decided to shorten the length of the scissors and add more sections for height. I also needed to create a motor mount to stablize the motor. After several instances of trial and error, and a few broken motors later, I created the motor mount pictured below: a lasercut slot fit for the motor, spacers to attach to the non-moving bar for stability, pins between the Delrin rod and motor for flexibility, and an angle bar to keep the system in place.


Next it was time to add wheels. While there was a "hoverboard" see-saw to cross the garbage trench, I wanted to drive directly across the 8" gap and create tank treads for wheels. Pictured above is the lasercut base of a wheel system with a motor attached to the back wheel. Each wheel is made of four lasercut disks, two with ridges for the pulley timing belt to fit and two round disks on each side to prevent the belt from slipping. Then I measured and cut a section of a pulley timing belt and sewed the ends together.


I added two more pulley gears to increase the tension and a metal ski to help guide the wheel across the trench, then I replicated the process for the second wheel on the other side of the robot. With just enough speed, the robot was able to cross the trench, but I still ran into a few problems with the belts slipping off. Finally I added a metal flap to the front of the robot so it could push objects in front of it.
Altogether, I consider my robot pretty successful. I succeeded in creating a working scissor lift and wheels that could drive across an 8" gap. While the robot struggled to work at the actual competition, I was able to score 12 points by pushing the bananas into the garbage trench. I learned a lot about building, the design process, trial and error, and creating solutions to make things work.